Table of Contents
Introduction
Are you looking to add some festive cheer to your home during the holiday season? Hanging holiday lights is a great way to spread joy and create a festive atmosphere. Whether you are a professional Christmas light contractor or a homeowner, this blog will provide you with expert tips on how to hang holiday lights on your home.
Preparing for the Installation
Before you begin hanging your holiday lights, it is important to ensure that you have the necessary equipment and plan your installation strategy. Here are some key steps to follow:
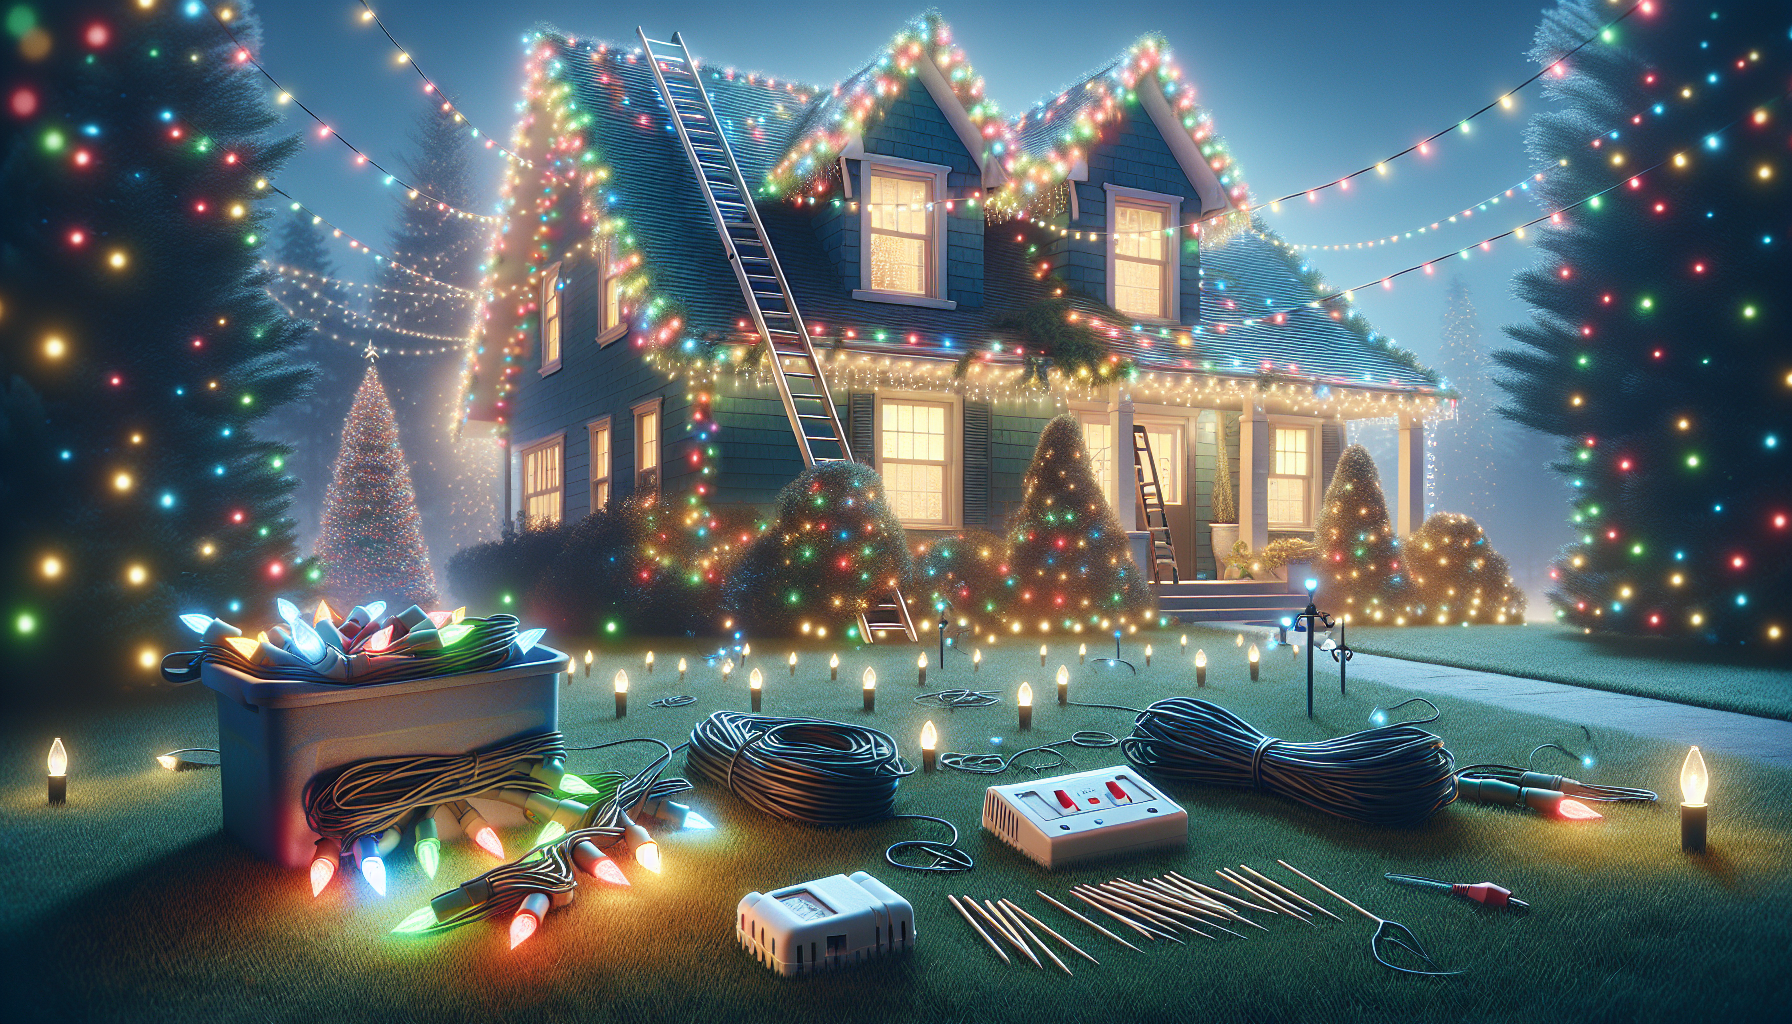
- Check for electricity: Make sure there is electricity available on the outside of your house. If not, you may need to have it installed.
- Use a GFI: To prevent overloading the electrical system and blowing a breaker, use a Ground Fault Interrupter (GFI) when working with outdoor electricity.
- Photo sensing cell: Connect a photo sensing cell to the house to control when the lights turn on and off.
- Consider safety: Plan the layout of your lights to avoid obstructing walkways and causing tripping hazards.
- Secure the cords: Use stakes to secure the cords to the ground, ensuring they stay in place and do not pose any safety risks.

Installing the Lights
Now that you have made the necessary preparations, it's time to start hanging your holiday lights. Follow these steps to ensure a successful installation:
Step 1: Running the Electricity
Start by running the electricity from the available power source to the desired location of your lights. Lay out the cords in a neat and organized manner, taking care to avoid tripping hazards. Use indoor cords, which are cheaper and safe to use for shorter distances.
Step 2: Powering the Bushes
If you have bushes that you want to decorate, use a three-way splitter to distribute power to multiple locations. This will allow you to connect your lights to each bush using shorter cords, saving you money on expensive outdoor cords.
Pro tip:
Tag each cord to ensure you connect the right cord to each bush. This will make the installation process smoother and more efficient.
Step 3: Trunk Wrapping a Tree
If you have a tree that you want to trunk wrap, plan the power distribution accordingly. Use a three-way splitter in the middle of the tree to easily connect lights to different branches. This will ensure that power reaches all parts of the tree, creating a beautiful and evenly lit display.
Step 4: Communicate with the Customer
If you are installing the lights early in the season, make sure to communicate with the customer about any potential obstacles, such as ongoing lawn maintenance. This will help you plan the installation and avoid any issues.
FAQ
Q: Can I use indoor cords for outdoor installations?
A: Yes, you can use indoor cords for shorter outdoor distances. However, it is important to ensure they are safe to use and protected from any potential damage.
Q: How many cords should I use?
A: It is recommended to use as few cords as possible to save money. Utilize splitters and shorter cords to connect multiple bushes or trees to a single power source.
Q: How do I secure the cords to the ground?
A: Use stakes specifically designed for securing cords. These stakes are simple to use and provide a secure and safe way to keep the cords in place.
Q: What should I do if there is no electricity on the outside of my house?
A: If there is no electricity on the outside of your house, you may need to have it installed by a professional electrician. Ensure that the necessary electrical infrastructure is in place before proceeding with your holiday light installation.
Q: How can I prevent overloading the electrical system?
A: Use a Ground Fault Interrupter (GFI) to prevent overloading the electrical system. This device will protect the circuit from blowing a breaker and ensure a safe installation.
Conclusion
Hanging holiday lights is a fun and festive way to decorate your home during the holiday season. By following these expe


